Gradišče - Gradiška Tura (Otmar route)
Starting point: Gradišče (250 m)
Starting point Lat/Lon: 45.8323°N 13.971°E 
Path name: Otmar route
Time of walking: 1 h 40 min
Difficulty: very difficult marked way
Ferrata: C
Difficulty of skiing: no data
Altitude difference: 543 m
Altitude difference (by path): 543 m
Map: Nanos 1:50.000
Access to starting point:
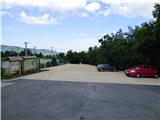
From Razdrto we drive on the highway towards Nova Gorica or vice versa and we go to the exit Vipava. We follow the road ahead, towards Vipava and Gradišče. In the village Gradišče we notice the first mountain signposts, which we follow to a larger parking lot by camp Kamp Tura above the village Gradišče.
Path description:
From the parking lot, we go past information boards in the direction of Gradiška Tura and Abram. At first relatively wide path leads through the forest and it soon brings us to a crossing on a smaller clearing. Here, the path branches off to the right towards St. Nikolaj, and we continue left towards Gradiška Tura.
From the crossing, the path quickly brings us to scree and then it turns to the right. Further, we walk on a marked path and we still follow the signs for Gradiška Tura. And by the path, we will also notice signs, which mark climbing routes. The path then starts ascending a little steeper and occasionally beautiful views start to open up on Vipava valley. The path which here runs by bushes and through the low forest brings us to the next marked crossing where Furlan route on Gradiška Tura branches off to the left.
We continue right where signposts for Gradiška Tura on Otmar route point us to. After that, the path runs on a little steeper slope where we also get help from some fixed safety gear. On such path we then reach panoramic Oltar.
From Oltar we still continue on the steep path, which is in parts secured with a steel cable or iron spikes and we are soon again at a crossing. This time normal easier path on Gradiška Tura branches off to the left, and we go right towards Otmar route. After a shorter crossing then path brings us below the wall where there is the beginning of a secured climbing path.
In front of the entry into a climbing part of the path, we equip ourselves with a helmet and self-belay set. It is also recommended to use climbing gloves. At the initial part, which is the hardest part of the path, we at first steeply ascend on numerous stemples steeply upwards. The path then turns to the left and then follows a very exposed crossing of a wall where we still get help from numerous stemples. After the crossing, the path turns right upwards and ascends also over a shorter overhang (difficulty to C).
Above the overhang there follows a slightly less demanding ascent on stemples, which brings us on a ledge by the tree. Above the tree, we are then ascending on still relatively steep slope with enough steps and holds where besides steel cables we occasionally also get help from few stemples or into a rock carved footholds. The path here runs a little to the right and later turns left upwards and it brings us on a less steep terrain where the secured path for a short time ends. Here from the left joins also a diagonal footpath from the top of Furlan route.
We continue on panoramic footpath which quickly again brings us to the steel cables. At first, we ascend by the steel cable on rugged rocks and then there again follows an ascent on stemples with the help of which we ascend also over a very short overhang. The path then turns to the right and then follows slightly exposed crossing, which brings us to the next stemples. With the help of numerous stemples, we ascend on a wall upwards. We continue again a little to the right and the path brings us on a little less steep and more vegetated terrain. Here we are then for quite some time ascending by the steel cable on a slightly less demanding slope and a little higher the secured path for a short time again ends.
We continue right on a footpath which past memorial plates brings us to the last part of the secured path.
Here we again steeply ascend with the help of stemples and then we are for some time quite steeply ascending on a wide outside corner. In the last part follows an ascent on a short chimney and then secured path ends.
At the end of the secured path where from the left joins also an easier path we continue straight and after approximately 10 minutes of ascent we reach the panoramic peak.
The described path is categorized as a very demanding mountain path, and for the ascent there it is mandatory to use a self-belay set and a helmet. In the initial part, which reaches difficulty level C in the overhang also some strength in arms is needed. The secured path is otherwise long 450 meters and has 240 meters of altitude difference.
Pictures:
 1
1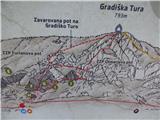 2
2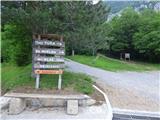 3
3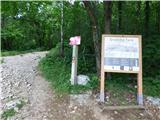 4
4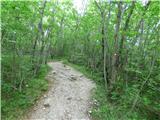 5
5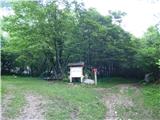 6
6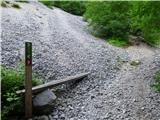 7
7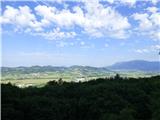 8
8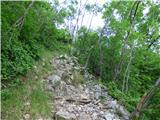 9
9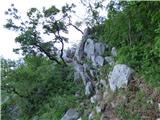 10
10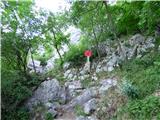 11
11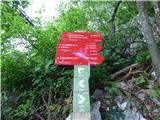 12
12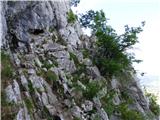 13
13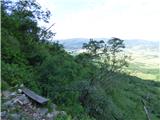 14
14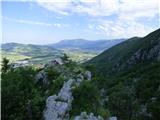 15
15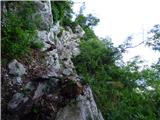 16
16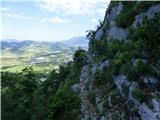 17
17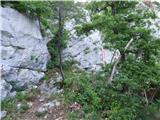 18
18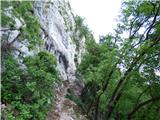 19
19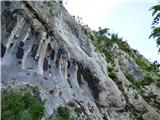 20
20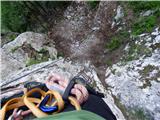 21
21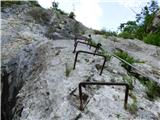 22
22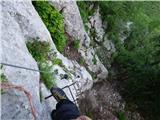 23
23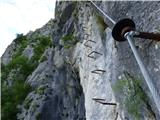 24
24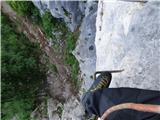 25
25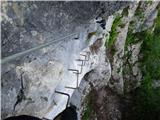 26
26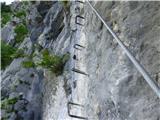 27
27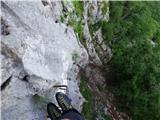 28
28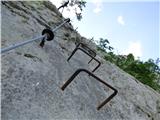 29
29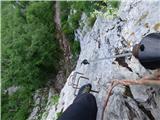 30
30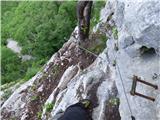 31
31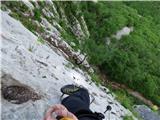 32
32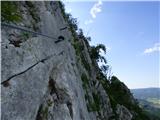 33
33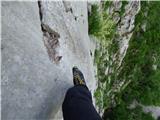 34
34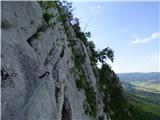 35
35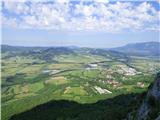 36
36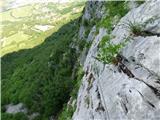 37
37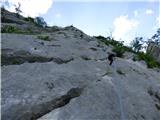 38
38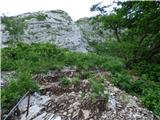 39
39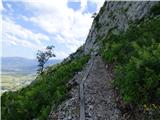 40
40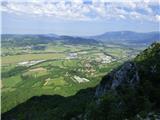 41
41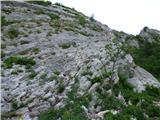 42
42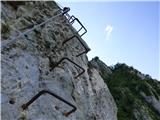 43
43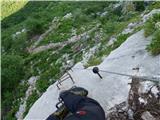 44
44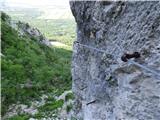 45
45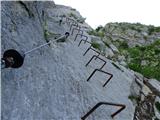 46
46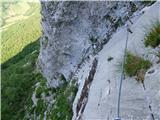 47
47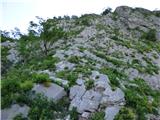 48
48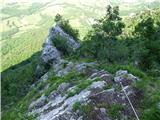 49
49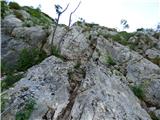 50
50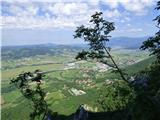 51
51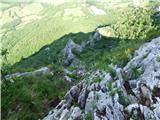 52
52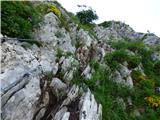 53
53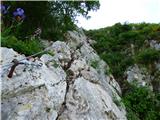 54
54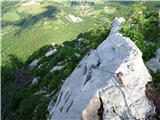 55
55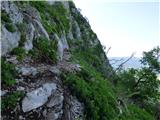 56
56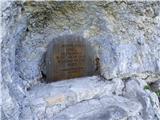 57
57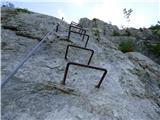 58
58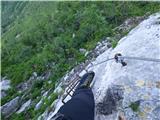 59
59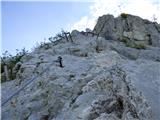 60
60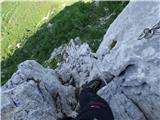 61
61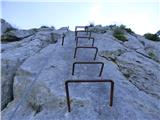 62
62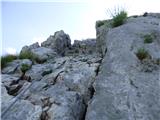 63
63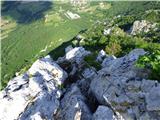 64
64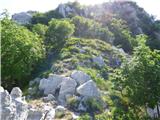 65
65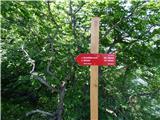 66
66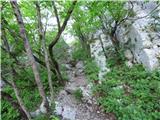 67
67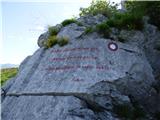 68
68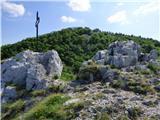 69
69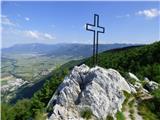 70
70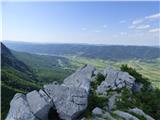 71
71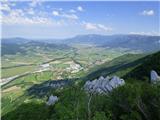 72
72